How to Hang Curtains on a Pole – The Ultimate Guide
Nobody wants to become an accidental exhibitionist by hanging their curtains incorrectly — whether in the living room, bedroom, or anywhere else. The good news is, with the right tools and a clear plan, hanging curtains on a pole can be simple, satisfying, and transform the look of your room.
If you want to block out sunlight, add privacy, or simply give your space a polished finishing touch, a well-installed curtain pole and the right curtain fabric can work wonders for your windows.
1. Use a Wider Curtain Pole
Always choose a curtain pole that is wider than your window. This ensures there is enough space for the curtain panels to stack neatly on each side of the window when open, and to cover the entire window when closed.
A good rule of thumb is to select a pole that is 20–30cm (8–12 inches) wider than your window in total — 10–15cm on each side. This will make your window appear larger and provide a more luxurious finish.
2. Hang the Curtain Pole Closer to the Ceiling
For a taller, more elegant look, install your curtain pole higher than the top of the window frame — ideally 10–15cm (4–6 inches) above. This draws the eye upwards, making the window and the room feel more spacious.
3. Choose Your Curtain Heading Style
The way you hang your curtains depends on the header (top section) design. Popular styles include:
Eyelet Curtains – The pole simply threads through the metal-rimmed openings at the top of the curtain.
Tab Top Curtains – Fabric loops are spaced evenly along the header, and the pole is passed through each loop.
Pleated Curtains – The curtain fabric is shaped into neat, structured pleats, which are hung from rings or hooks.
4. Decide on Hook Placement
If your curtains require hooks, decide where to position them.
Placing the hook near the top of the heading tape allows the curtain to hang just below the pole.
Positioning the hook in the middle means the heading covers the track or pole slightly.
5. Tie the Cords Before Gathering
Before pulling the cords on the heading tape to gather your curtains, tie them securely at one end to prevent the tape from unravelling. Most people tie them at the leading edge — the edge where the two curtains meet in the centre when closed.
6. Check the Curtain Width
Measure the curtain width to ensure it’s suitable for your pole. Having slightly more width than required allows for a fuller appearance and means you won’t have to cut down the sides for the curtains to meet neatly in the middle.
7. Tie Off the Curtains
Once the correct width and gather are achieved:
Tie the cords without cutting them off, so they can be loosened later if needed.
Wrap any excess cord neatly around your hand and tuck it away, or pin it to the lining with a safety pin to keep it hidden.
8. Insert the Hooks
For evenly gathered curtains:
Count the number of rings or gliders on your pole and divide by two to work out how many hooks each curtain needs.
Attach hooks to the heading tape at even intervals.
Place a hook at the outer edge to keep the curtain securely in place when closed.
For poles, use the top row of pockets on the heading tape so the curtain hangs just below the pole.
For tracks, use the middle or lower row to conceal the track completely.
9. Hang the Curtains
Slide the hooks into the rings or gliders, making sure the final hook sits between the bracket and the finial (or at the end of the track). Adjust the folds until they are even and pleasing to the eye.
Final Thoughts
And there you have it — hanging curtains on a pole is not as difficult as it may seem. With the right measurements, a good curtain pole, and a bit of patience, you can create a polished, stylish look that elevates your entire room.
Now, put the kettle on, enjoy a cup of tea, and admire your perfectly dressed windows.
-
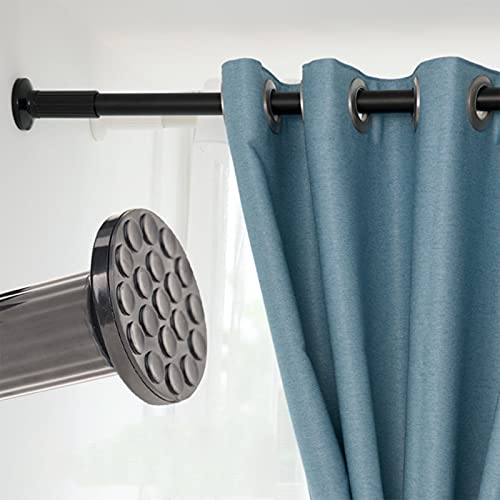
 Product on saleAluminium Extendable Curtain Rod Tension Pole Easy Fitting For Cupboard Wardrobe Kitchen DIY Projects, Length 40-72cm, Use in Wall distance between 40-68cm, Diameter 1.3cmOriginal price was: £9.99.£8.49Current price is: £8.49.
 -

-

-

-

-
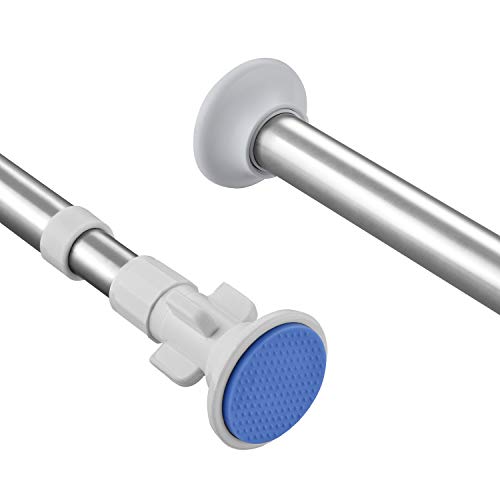
 Product on saleBELICOO Extendable Curtain Poles 70-130 cm Tension Rod for Net Curtains, 1Pcs Shower Curtain Pole No Drilling, White Shower Rail Extendable Shower Poles for Kitchen Cupboard Bathroom Bedroom WindowOriginal price was: £11.99.£9.59Current price is: £9.59.
 -
 Product on saleEC Breath Upgraded 56-304.5cm Extendable Shower Curtain Tension Pole, Free Combination Pole Set, Telescopic No Drill Stainless Steel Clothes Hanging Bar Rail for Bath,Closet,Wardrobe,Door,KitchenOriginal price was: £29.99.£28.49Current price is: £28.49.
 -
 Product on saleExtendable Curtain Tension Rod 47-160cm,Stainless Steel Telescopic Net Voile Shower Curtain Pole No Drilling,Adjustable Rail for Bathroom Kitchen Closet DoorOriginal price was: £10.99.£7.58Current price is: £7.58.
 -

-
-
 Product on saleShower Curtain Pole Tension Rods for Curtains Shower Curtain Rail Extendable Curtain Poles No Drill for Window Bathroom Bedroom and Doorway 70-120cmOriginal price was: £10.99.£8.79Current price is: £8.79.
 -
 Product on saleExtendable Tension Rod 77-195cm, Stainless Steel Shower Curtain Rail, Silver Spring Tension No Drill Adjustable Curtain Poles for Bathroom, Windows, Door Curtain RodsOriginal price was: £17.99.£12.99Current price is: £12.99.
 -

-
 Product on saleShower Curtain Pole, Extendable Tension Rod 76-193cm for Bathroom, Black Shower Curtain Rod No Drilling&No Slip for Windows, Door, WardrobeOriginal price was: £12.99.£10.39Current price is: £10.39.
 -

-
 Product on saleCurtain Poles Telescopic Curtain Rod No Drilling Shower Tension Rod Extendable Curtain Pole Metal Shower Pole For Shower Curtain Door Bathroom Kitchen Livingroom Bar 20.28inch-30.5inch(51.5-78cm)Original price was: £8.99.£7.64Current price is: £7.64.
 -

-
 Product on saleHOTUT 2 Pcs Net Curtain Rods Extendable, 30-50cm Tension Rods for Curtains, No Drilling Rustproof Adjustable Small Spring Tension Rods Extendable Cupboard Bars for Windows, Kitchen, Bathroom, WardrobeOriginal price was: £4.99.£4.49Current price is: £4.49.
 -
 Product on saleTension Rods for Curtains Extendable Shower Curtain Pole 104-193cm Adjustable Net Curtain Rod Telescopic Curtain Rods No Drilling Shower Rails for Window Bathroom Wardrobe, WhiteOriginal price was: £9.99.£8.49Current price is: £8.49.
 -
 Product on saleWhite Extendable Shower Curtain Rod, Tension Rod 73-263cm, Shower Pole Telescopic Shower Curtain Pole No Drilling, Adjustable Shower Pole for Bathroom, Kitchen, WardrobeOriginal price was: £19.99.£14.99Current price is: £14.99.
 -

-

-

-
 Product on saleCurtain Pole, 300 cm Long Shower Rail, No Drilling, Extendable Telescopic Rod, Curtain, Shower Curtain Rail for Bathroom, Bedroom, White (85-270CM, Φ32 mm)Original price was: £30.89.£26.26Current price is: £26.26.